Start to Finish:
So without further ado.......
Choose your image: Wedding, Anniversary, Birth, 1st Year Christmas, Family, 1st day of school...etc.
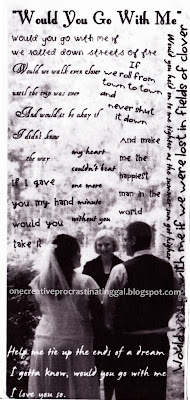
I used an image from our wedding that I had practiced doing a subway type art with previously, but was not satisfied with the entire photo. The song we got married to "Would You Go With Me" by Josh Turner. It was just us and baby girl when we got married so we went non traditional style.
1. Get a piece of tissue paper{ I used off white Christmas} & cut it to the size of my printer paper.
2. Tape up all of the corners & sides well, so when it runs through the printer nothing snags or causes the tissue paper to get stuck.
4. PRINT- {it turned out okay, but next time instead of using a piece that was a little crumply I will use one that is not}
5. Put your bell on top of the image section you want on top of a cut worthy surface. I put it on a piece of double folded paper. Trace around the bell with your X-acto tool until you can lift the side of the tissue paper from the ornament.
6. Remove the portion of the bell and the photo copied tissue paper. Remove the string if it came with one.
1. Apply Mod Podge to the surface
2. Place the image CAREFULLY on to the Mod Podged surface. I luckily didn't have to move mine around, so I am not sure how much working room you would have. I would not think very much due to the delicate nature of the tissue paper. If you have a little bubble or crease you could smooth it out gently with your finger or a soft paint brush to the consistency you want it. Take your X-acto tool and softly remove the string hole of the ornament where the tissue paper is covering. I slightly tapped it and it folded in.
It had one line in the middle there, but I didn't try to work it out because I like the old vintage photo look it gives.
Pretty cool, huh! I plan to make a few more before the holidays are over. I am excited to see what other Mod Podge creations I can make.
Happy Holidays.


