


Hello Everyone! I am Eva from Home Décor by Eva. I am ecstatic to be here today, have been a ‘Considered me Inspired’ reader for some time now. I hope you guys enjoy my ideas as much as I enjoy Amy’s!
I had some house guests over so just got around some décor for Halloween for our guest room.
Happy Reading!
Xoxo
Eva
I had some house guests over so just got around some décor for Halloween for our guest room.
Happy Reading!
Xoxo
Eva
Welcome Your Guests This Fall!
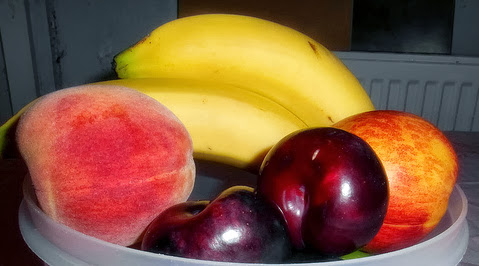
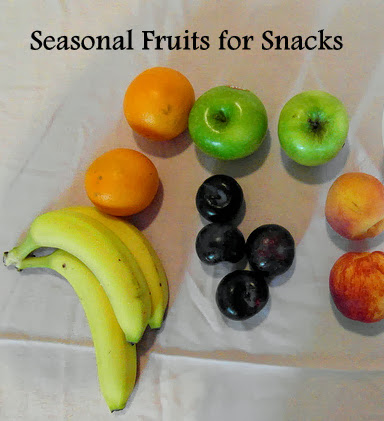
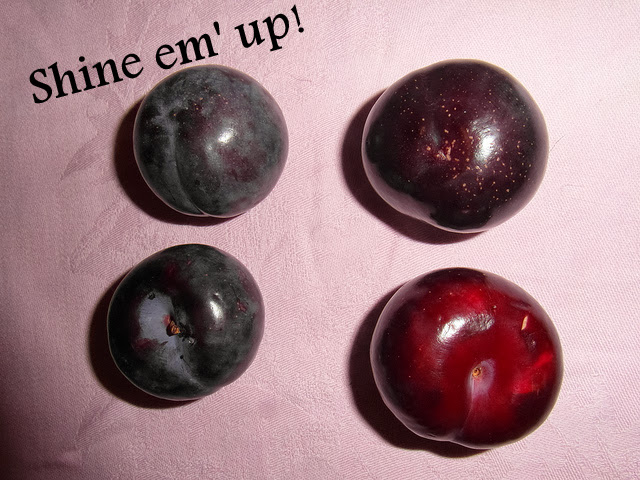
Fall is coming, and with it comes Halloween, Thanksgiving and family get-togethers. If you quail at the thought of the endless housework, entertaining and above all, constant civility necessary when you have guests in your home, try to take heart! Get ahead of the rush by getting the guest room all decorated and ready before the first guest arrives, get the freezer stocked with easy meal ideas and take some time to make personalised decorations for the room that will be their home away from home! Fruit bowls and biscuit tinsFruit bowls and biscuit tins:


Welcome
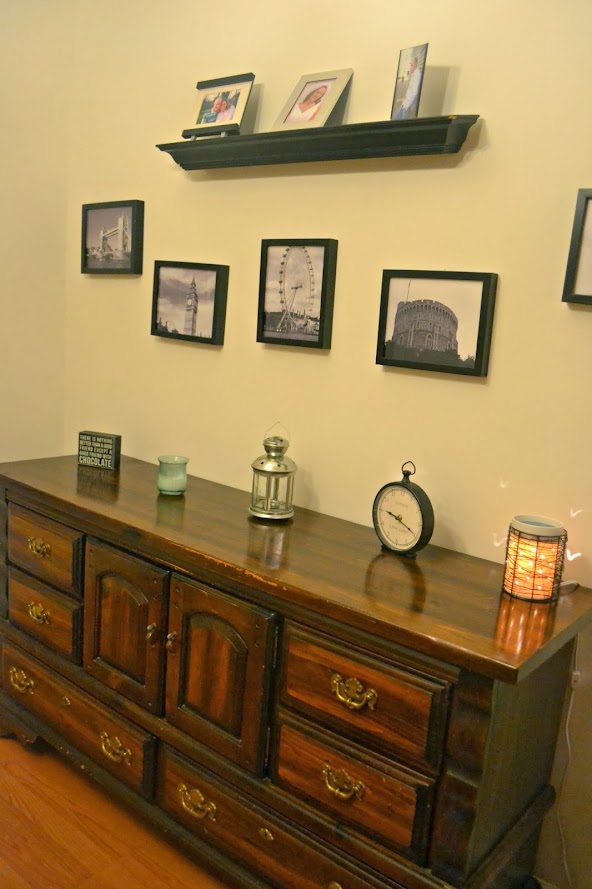
I recently updated the guest room furniture, got this gorgeous sideboard from Shop4Furniture. I distressed and gave it a lovely traditional vintage look. Place a few candles (my mason jars will look wonderful too!) and your guests will feel like VIP’s!
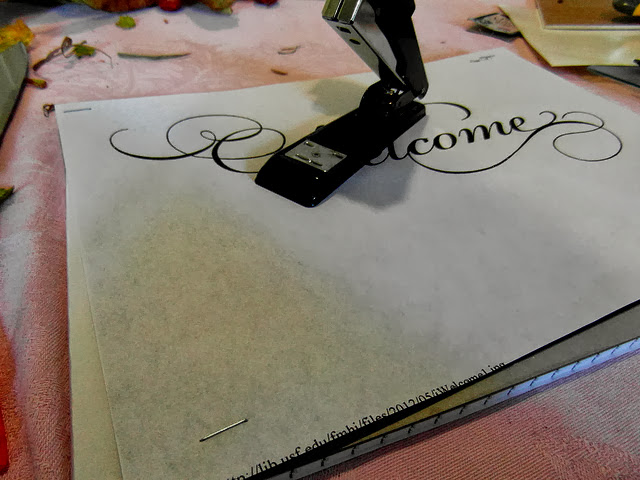
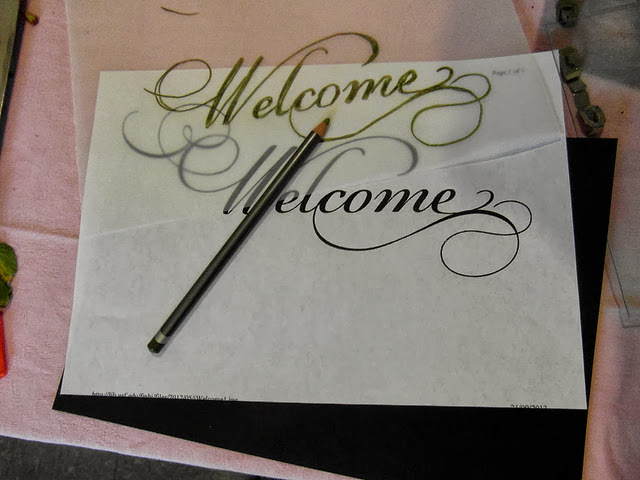
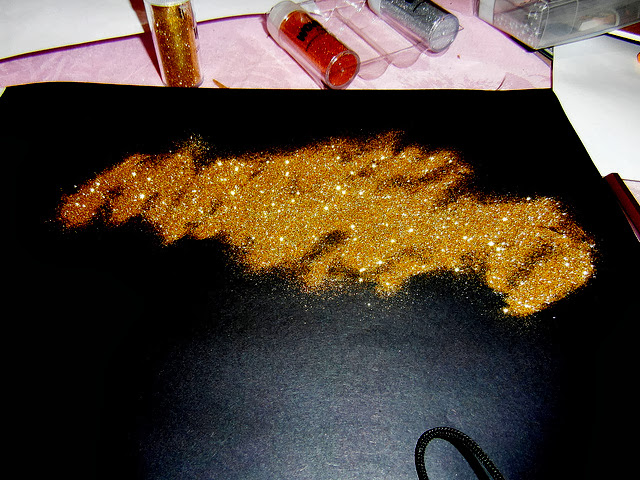
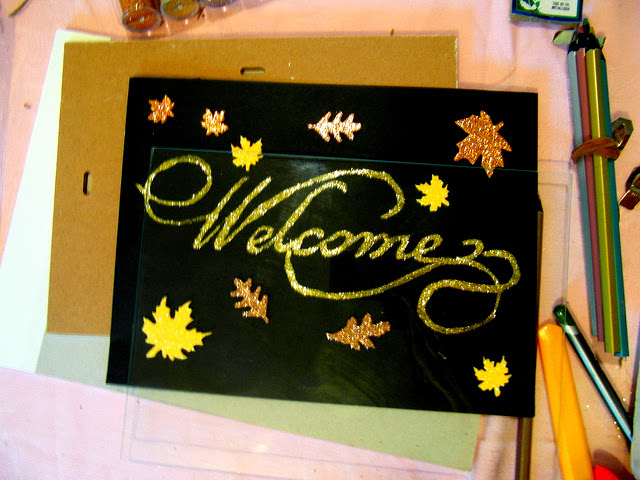
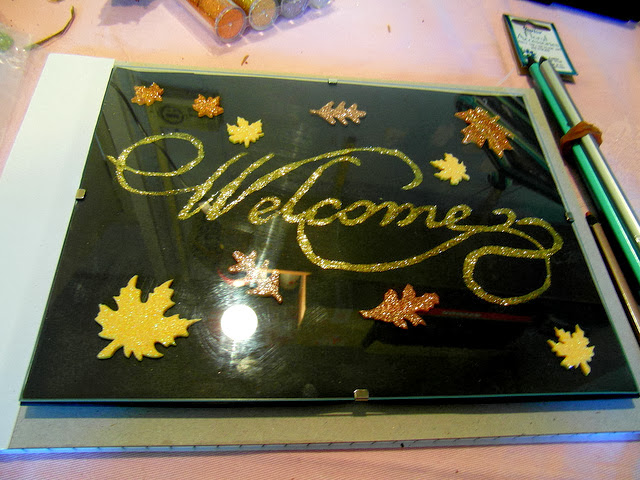
I used the time-honoured tradition of transferring the image by scribbling all over the back of the image with a pencil that would show up on my black background, then tracing over the word very carefully, having stapled the front sheet to my black page so as to keep the images aligned.

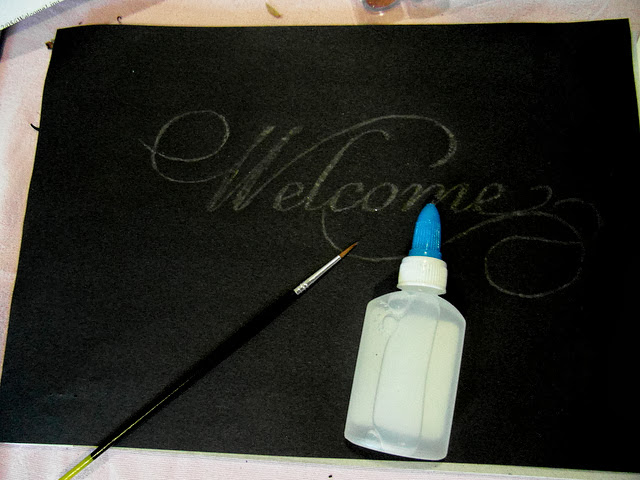
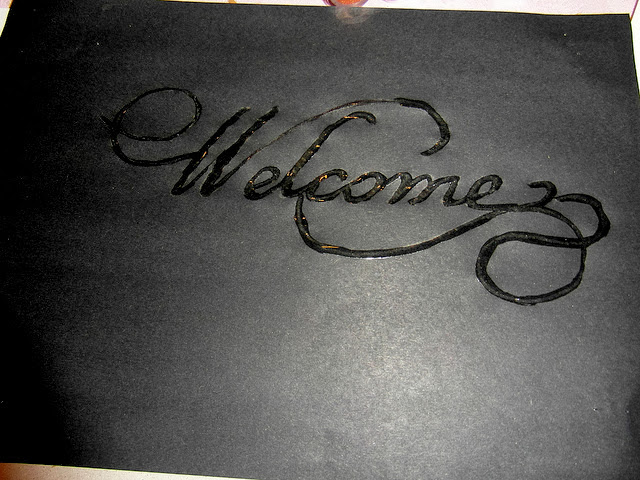
On my second attempt I used my finest paintbrush to apply the glue, working as fast as I could so as to finish before the glue dried out! At last, I had a word that I was happy with, coated with a nice wet layer of glue. I liberally sprinkled the glitter over the word and left it to dry out for about half an hour or so.

Wreathed in Welcome

Materials needed:
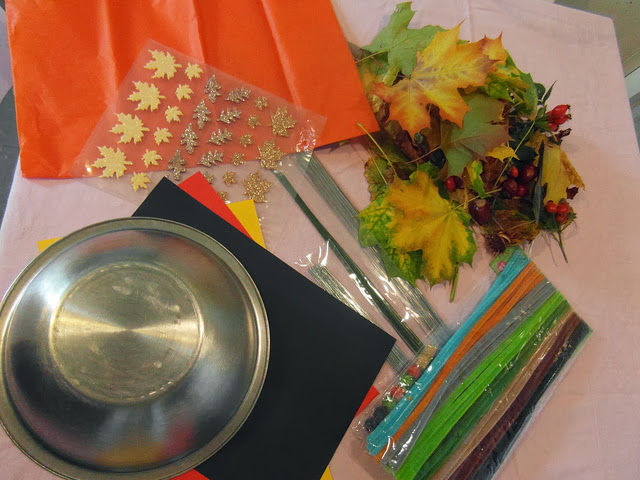
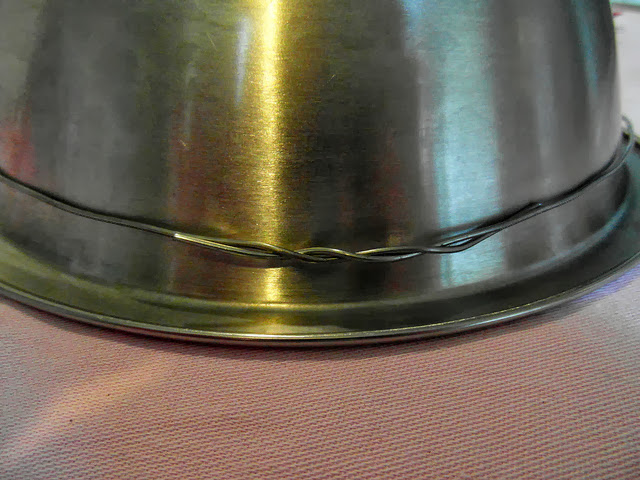
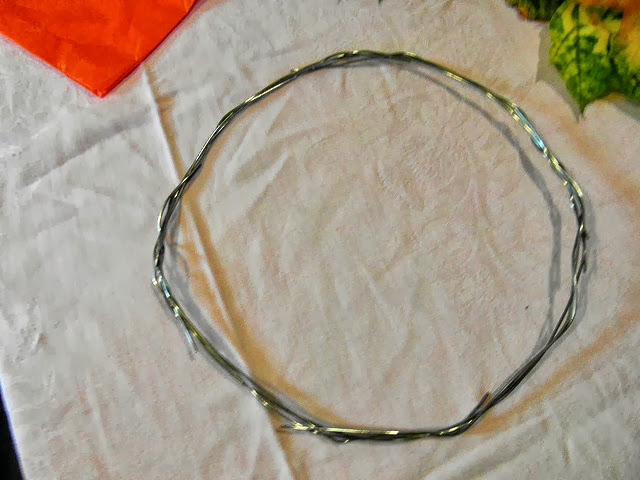
I used six lengths, intertwining them to create a strong circle with enough gaps for the decorations to be anchored into.
Then I began placing some wonderfully colourful autumn leaves around the circle, fixing them in place with lengths of a much finer wire.
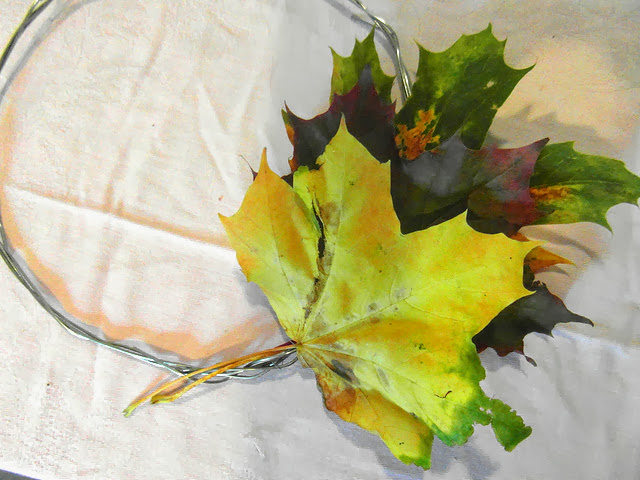
I collected my leaves just as the season was beginning to change, so there is a lot of green still in the leaves. Later on in the season you will find deep orange and red and exquisite pale yellow. While fixing my leaves in place I discovered the tiniest snail I have ever seen in my life!
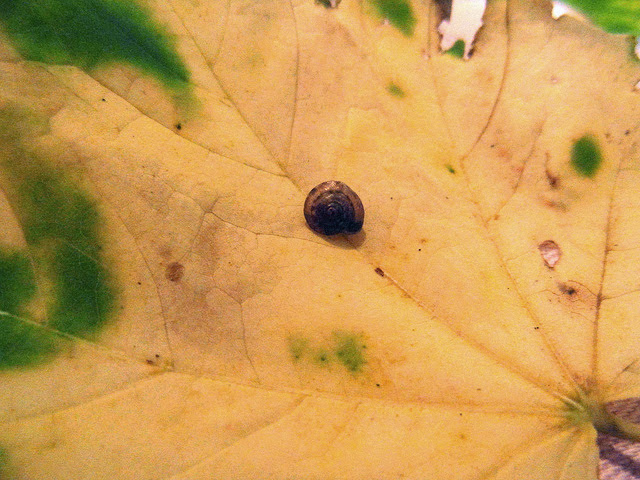
After a couple of photographs I popped him and his leaf back outside. When collecting leaves keep your eyes peeled for interesting plants, nuts and seeds and anything else that might enhance your creation.

Feathers and rose hips add a splash of colour and interest to this wreath, but you can use only leaves if you prefer. Study the leaf shapes and choose similarly sized leaves, saving the extra large or extra small ones for other crafty creations!
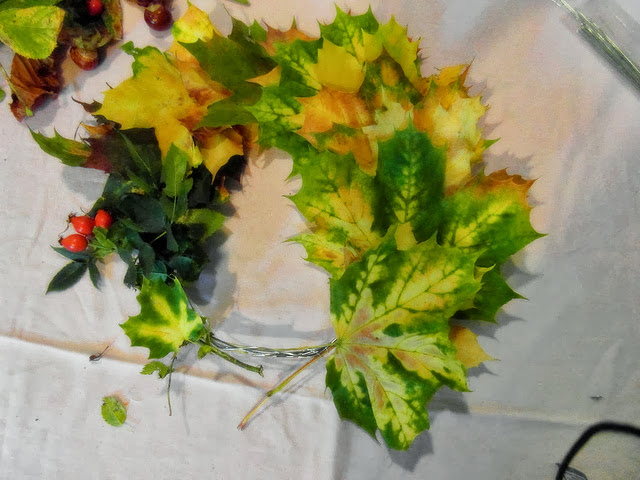
Once all the leaves were in place I fixed a loop of wire to the back of the wreath, creating a hanging fixture so the wreath can be hung on a door or on the wall.


These are just a couple of ways to get your guestroom ready for the influx of family and friends that the fall brings our way. None of these pieces require a great deal of talent – just some time and some basic arts and crafts supplies as well as some natural odds and ends – so put aside a couple of hours of 'you' time and get stuck in making beautiful things to welcome people into your home.